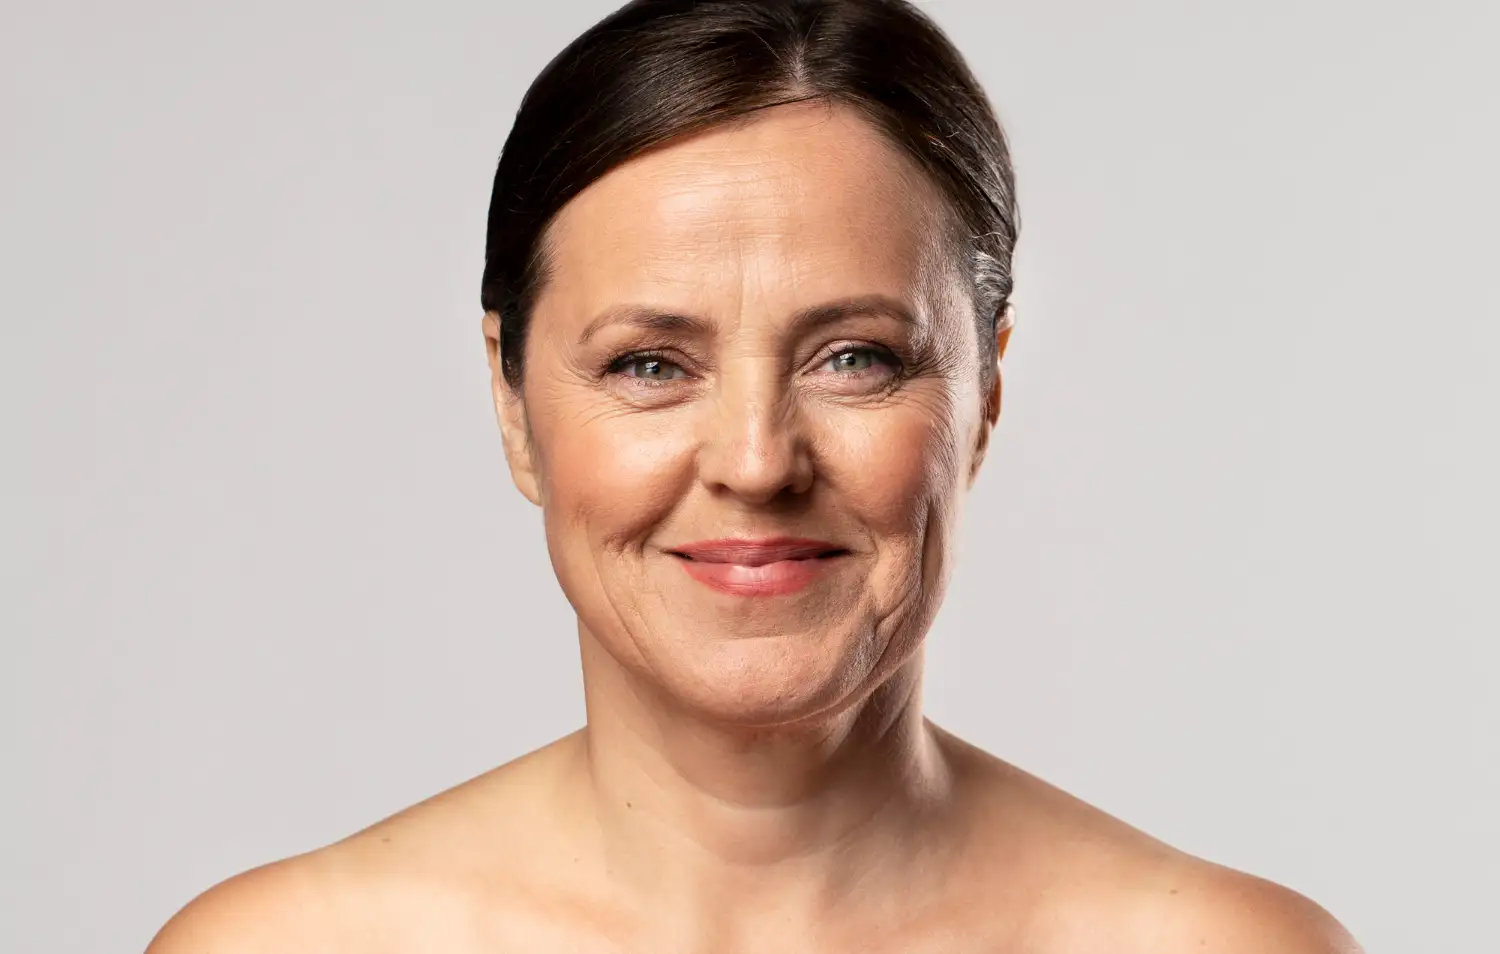
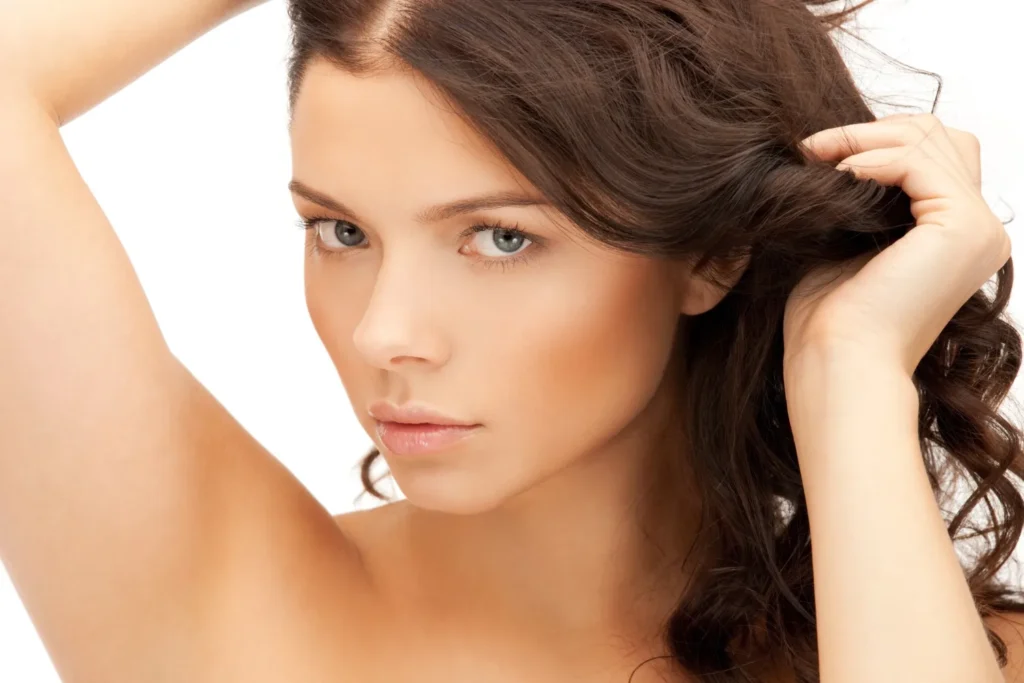
Why Image Standardization Matters in Facelift Outcome Assessment
Consistent photography isn’t just about aesthetics; it’s about measurement. When images are reproducible, they become data you can actually interpret.
Clinical utility and communication value
- Audit and QI: Standardized, longitudinal photos let you evaluate scar placement, recurrence of jowling, and cervicomental angle changes over time—across cohorts and techniques.
- Research: High-fidelity visuals enable objective comparisons (e.g., SMAS plication vs deep plane), pooled analyses, and multi-center collaboration.
- Patient education: Meticulous, repeatable images reassure patients that results are authentic and representative—not cherry-picked or enhanced.
Recognizing and controlling bias
- Pose and head tilt can sharpen a jawline or hide platysmal bands—without any surgery.
- Camera distance and focal length change facial proportions; move closer and noses/chins balloon, step back and features flatten.
- Makeup and hair can cover scars or mask skin-quality changes.
- Timing artifacts—early edema, erythema, residual swelling—can flatter or punish results depending on when you shoot.
- The fix? A disciplined protocol that locks down these variables (and documents any deviations).
Objective versus subjective evaluation
- GAIS (Global Aesthetic Improvement Scale) is simple and useful, but without standardized images it’s prone to expectation bias.
- FACE-Q, a validated patient-reported outcome tool, captures satisfaction and quality-of-life changes photos can’t.
- Blinded reviewer protocols—independent raters, paired images, random order—only mean something if the photos are shot under identical conditions.
Linking photography to outcomes science
- Reproducible images can be mapped to complications (hematoma, neuropraxia, scar hypertrophy) and technique variables (incision design, SMAS work). That’s how you move from anecdote to true quality improvement.
Imaging Hardware and Exposure Control: Building a Reproducible Capture Platform
Precision comes from controlling the entire imaging chain—sensor to screen
Camera body and sensor selection
- Full-frame vs APS-C: Both work. Full-frame usually gives more dynamic range and cleaner files at base ISO; APS-C is cost-effective and excellent in controlled lighting.
- Dynamic range: Aim for ≥13 stops at base ISO to keep highlights (forehead/specular areas) and shadows (hairlines/preauricular) intact.
- RAW capture: Always shoot RAW. It preserves highlight latitude, stabilizes white balance, and allows non-destructive global exposure tweaks without altering clinical content.
Lens choice and perspective integrity
- Use 85–135 mm on full-frame (≈55–90 mm on APS-C). That range keeps geometry honest and facial proportions true.
- Prefer primes for consistency and sharpness; if you use a zoom, lock it at a marked focal length.
- Apply the same lens profile corrections to every image—no subject-specific distortion fixes that might skew contour.
Manual exposure discipline
- Lock the exposure triangle: ISO 100–200, aperture f/8–f/11 (for sharpness from nasal tip to tragus), and a stable shutter.
- With strobes: 1/125–1/200 s (within sync) to freeze motion and avoid ambient contamination.
- White balance: Set a Kelvin value matched to your lights (e.g., 5600 K for flash) and shoot a gray card at the start of each session to anchor color.
- Histogram management: Protect highlights on the forehead and malar eminences while preserving midtones for skin texture.
Data integrity and file management
- Preserve EXIF: Date/time, lens, focal length, and exposure matter for audits and legal defensibility.
- Standardized filenames: Use a consistent schema like PatientID_Date_View_Series_Side_Stage. Example: 04721_2025-10-14_ROblique_FF_Pre.CR3
- Version control: Store RAWs read-only. Make non-destructive edits and export derivatives with meaningful tags (e.g., _WBcal_sRGB_2048px).
- DICOM workflows: Optional but powerful—DICOM standardizes metadata and integrates with PACS/EMR. If you’re not using DICOM, maintain checksums (SHA-256) and a clear audit trail for every file.
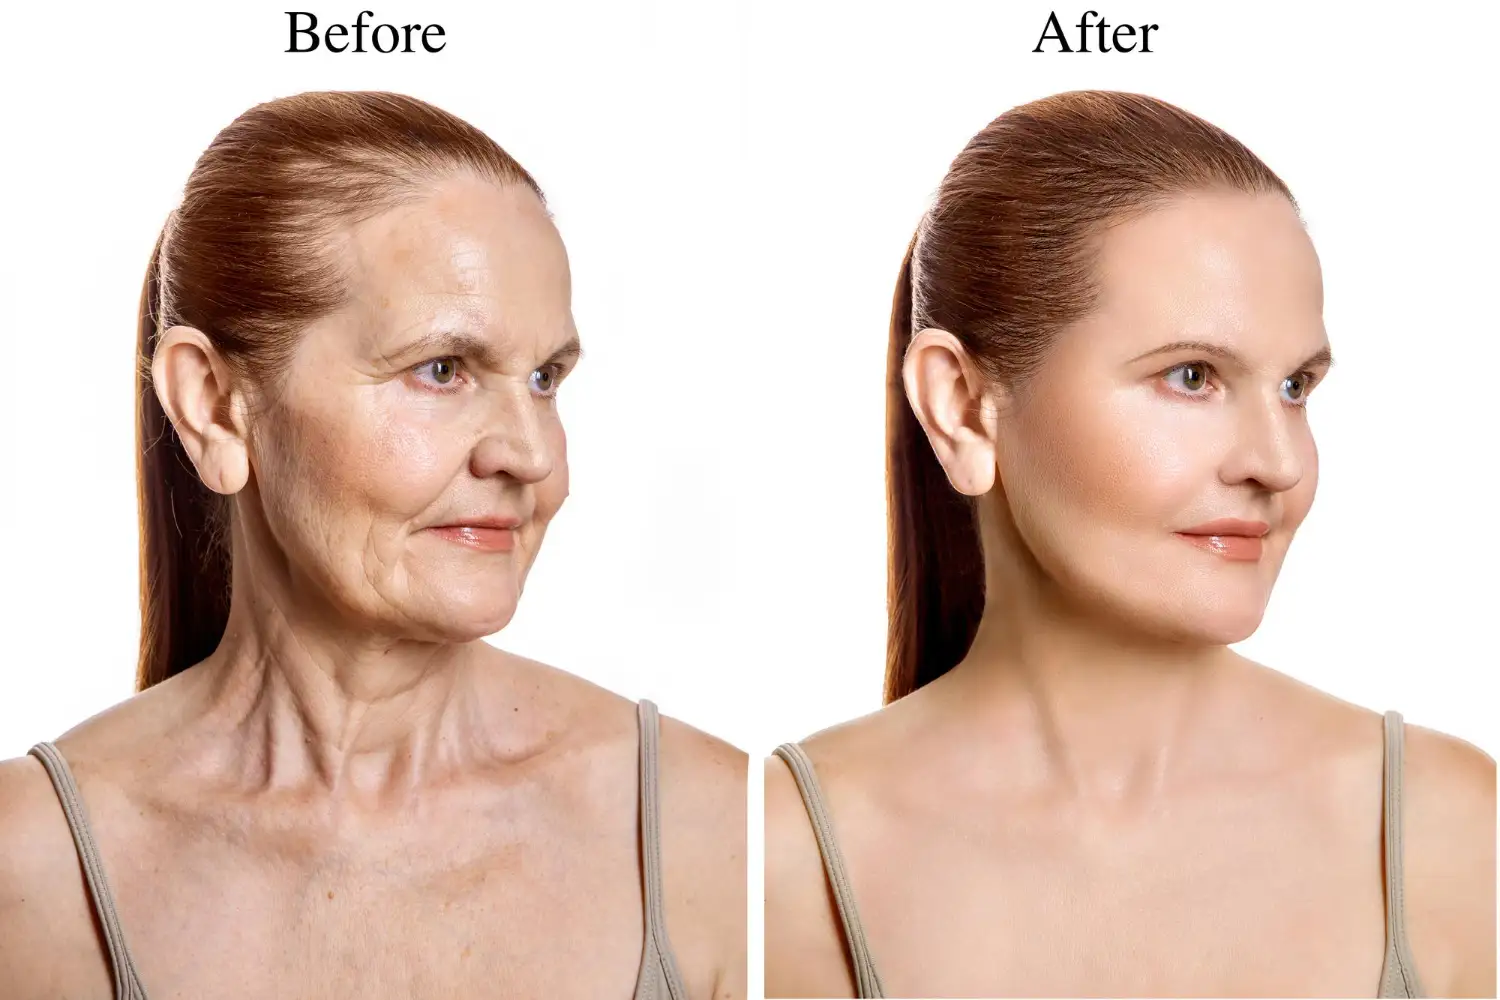
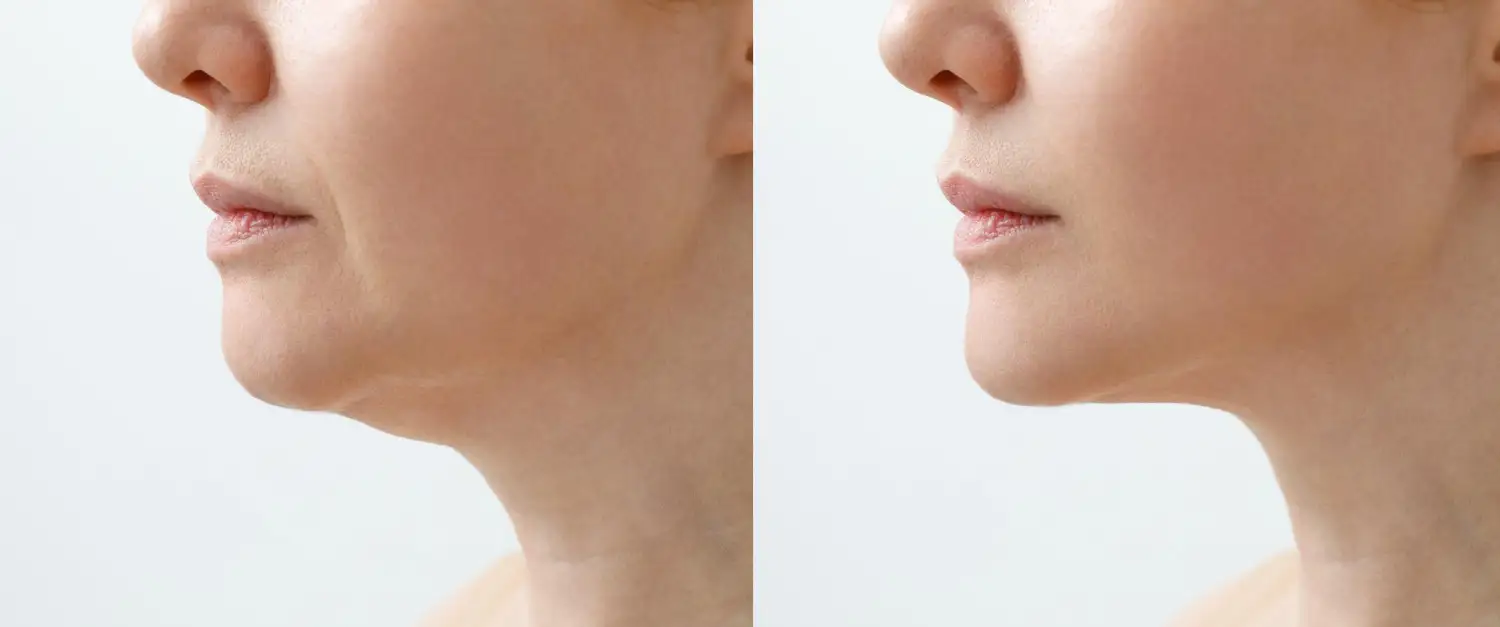
Patient Positioning and View Reproducibility: Controlling the Human Variables
Standard views and consistent head alignment are essential for judging soft-tissue shifts, redundancy, and cervicomental contour.
Canonical views for facelift documentation
- Frontal (neutral gaze, full face)
- Right and left oblique (30–45°)
- Right and left true profile (90°)
- Submental (neck extended to show the cervicomental angle and submandibular region)
- Optional: Close-ups of incision lines (preauricular, postauricular, temporal hairline) under the same lighting.
Head position and alignment
- Use the Frankfort horizontal (canthomeatal) plane: align the line from the inferior orbital rim to the superior external auditory meatus parallel to the floor.
- Keep the interpupillary line level; a hot-shoe bubble level and a wall-mounted guide help.
- Consider posture aids: a marked floor mat, an adjustable stool with back support, and a reference bar behind the patient.
Distance and magnification control
- Fix camera-to-subject distance (e.g., 1.8–2.2 m depending on focal length). Mark tripod placement and verify with a measuring tape to a wall target.
- Keep tripod height consistent so the lens center sits at nasion/mid-face level for every view.
- Scaling references: Match magnification by aligning facial landmarks to a framing guide (e.g., hairline to sternal notch in a fixed crop). Physical rulers are usually avoided for facial aesthetics but are great for incision close-ups.
Expression and grooming controls
- Expression: Neutral face, eyes open, mouth gently closed with light centric occlusion. No smile. No frown. No brow lift.
- Hair: Pulled off the face and behind the ears to show pre- and postauricular areas. Remove accessories that cast shadows.
- Jewelry and eyewear: Remove anything reflective or obstructive.
- Makeup: No makeup—ever. Provide wipes and mattifying papers to reduce shine.
- Facial hair: Document the baseline; keep it consistent across visits (or note any changes).
A quick script keeps everyone aligned: “Stand on the footprints. Look straight ahead. Mouth closed, face relaxed. Bring your chin level—nice and easy. Hold still while we take five views.”
Lighting, Background, and Color Management: Ensuring Consistent, Interpretable Images
Light determines what we can see. For facelifts , the goal is to reveal contour, texture, and color—faithfully and without glare.
How Standardized Photography Elevates Practice Performance
- Better patient expectations: Side-by-side, consistent images make pre-op education credible—and reduce disappointment from mismatched expectations.
- Cleaner research: Reproducible imaging plus blinded review turns case series into analyzable datasets—faster learning, stronger publications.
- Stronger risk management: Immutable RAWs with intact metadata and tamper-evident hashes protect you and your patients.
- Team efficiency: Clear protocols let trained staff handle imaging without sacrificing quality—more time for the surgeon to do surgeon things.
From Our Blog
What Is a Deep Plane Facelift and Why Do Top Surgeons Prefer It?
The deep plane facelift has become the go-to choice for many top facial plastic surgeons—and for good reason. Instead of just pulling skin tight, it works where aging actually happens: in the deeper support layers of the face.
READ THE ARTICLE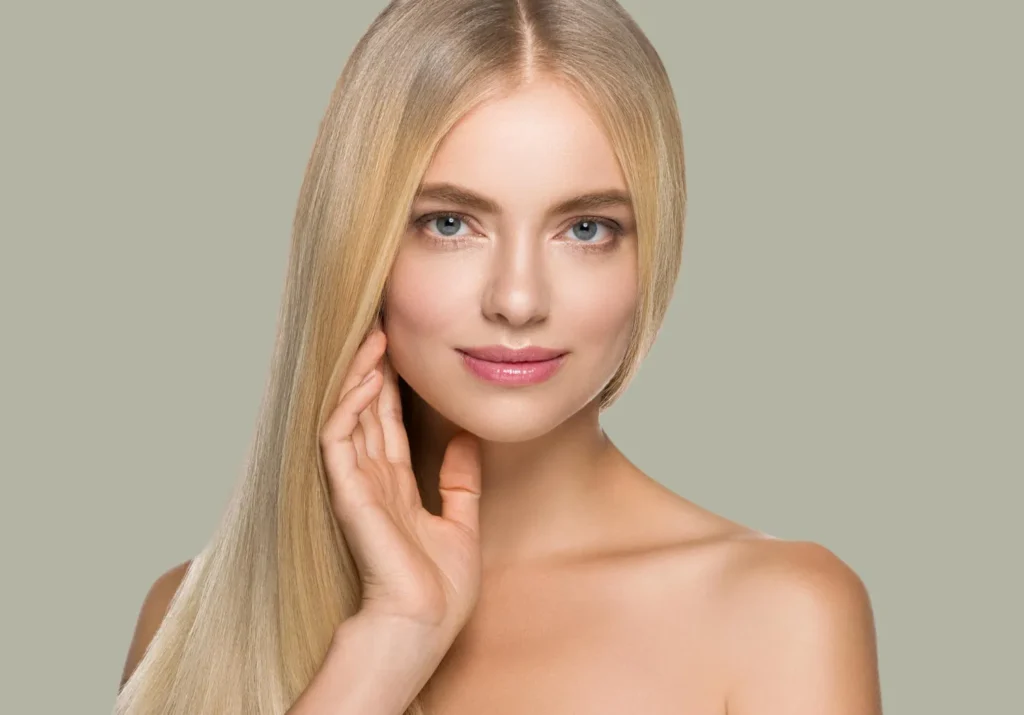
What’s the Safest Age to Get a Facelift—and When Is It Too Early?
There isn’t a magic birthday for a facelift. The “safest” age is when your anatomy and skin will clearly benefit more from surgical lifting than from nonsurgical fixes—and when your health makes an elective procedure low risk.
READ THE ARTICLE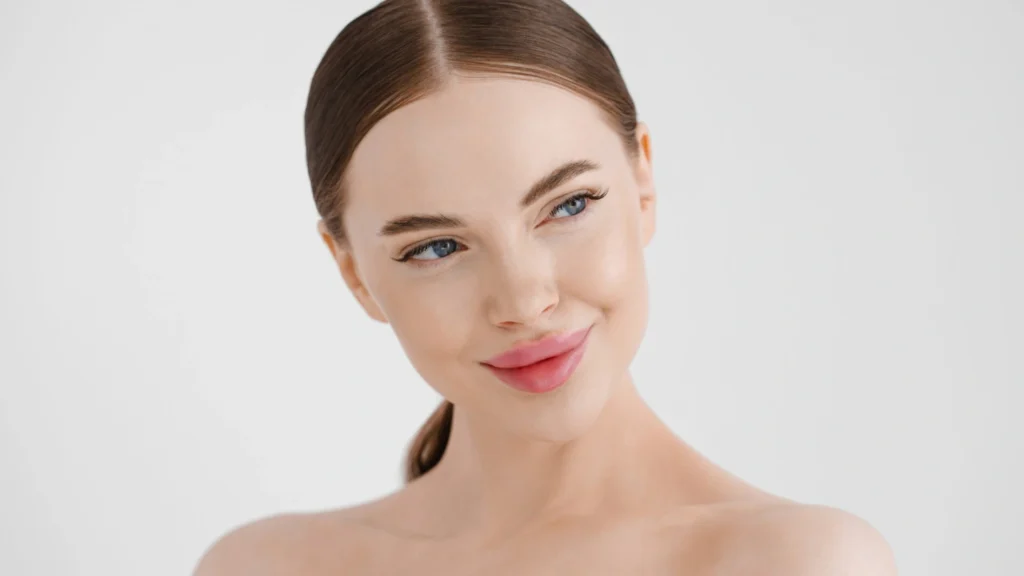
Mini Facelift vs. Full Facelift: Technical Differences, Candidacy, and Outcomes
A facelift isn’t one single operation—it’s a range of techniques tailored to how (and where) you’re aging. “Mini facelift” and “full facelift” are common labels, but they point to very different levels of dissection, how deeply tissue is moved, and how much work is done in the neck.
READ THE ARTICLE
Is a Facelift Worth It Compared to Non-Surgical Alternatives? A Clinical, Economic, and Patient-Centered Analysis
Interest in facial rejuvenation has never been higher, but the menu of options—from injectables and energy devices to deep-plane facelifts—can feel overwhelming. Patients often ask a deceptively simple question: is a facelift “worth it” compared to non-surgical treatments?
READ THE ARTICLE